DIY TOYS with Wastes,Projects for Kids
Toys are indispensable during children’s growth. Children are born with the love of playing, so that families with children are usually full of toys. Though there are enough toys at home, we (parents) are willing to buy toys as long as we go to the mall with children. As toys are getting more and more, it turns into indirect waste. Therefore, here we recommend a new way to play— DIY children’s toy car with waste cartons, which can not only let children have a satisfied car, but can also develop their intelligence and hands-on abilities.
How to Make A Toy Car:
- 1. Pick some thick cardboard (such as express boxes) and draw a car outline on them, with a height and width of about 31.5 inches. After drawing, cut the car outline with a paper cutter. You can choose the shape of the car according to children’s preferences;

- 2. Thicken the cardboard outline on the left and right sides of the car. Draw and cut two pieces of the car outline with equal proportion according to the former outline. Use hot-melt adhesive to reinforce and pasted the cardboard together to get a 3-layer outline to ensure the car is stronger and longer to play.

- 3. Make a side window and a door on the thickened car outline. Draw a window profile of about 9.44″(L) x 12.6″(W) on the right cardboard of the car and cut out the window with a paper cutter. Draw a door profile of about 16.54″(L) x 19.69″(W) on the left cardboard, and cut it out. After finishing the window and door, stick a piece of wallpaper inside the car.

- 4. Draw and cut two pieces of cardboard which have the width of 17.72 inches to strengthen both the front and rear of the car. The cardboard needs to be thickened by one layer. Then draw and cut out the front and rear windshield windows. The front windshield measures 11.81″(L) x 11.81″(W), and the rear windshield measures 9.05″(L) x 11.42″(W). Stick a piece of wallpaper inside the car after all these steps are done. Finally, paste the front and rear parts with the left and right car parts together with the glue.

- 5. Make the car roof (it just needs one layer of cardboard). The roof dimensions are 13″(L) x 17.72″(W), while the skylight dimensions are 7.48″(L) x 10.63″(W). After finishing this, stick another layer of wallpaper and paste the roof to the top with the glue.

- 6. Then you can play with your children and paint your loving car with your favorite graffiti or color. We advise gouache paint that is the kind used in Kindergarten manual classes, which is eco-friendly and non-toxic.

- 7. After painting and drying the car in the air, you can take your children out to play with it!

This car has been tested to be “powerful” (child-powered) without burning oil or charging, which can run for hundreds of miles and only needs a pair of wear-resistant shoes. With “strong” climbing force, this toy can not only exercise your children’s calf muscles, but can also catch many passers-by’s eyes due to its unique appearance. So if you hope your children have healthy bodies, why not try to make such a car for them? (Attention: The size of the car is not fixed. You can adjust the overall structure according to your preference.)
Tips: If there are skateboards and twisted cars that are not used at home, you can also combine them with this hand-made car. Install them on the bottom of the car, and stick them together. Here comes another fun way to play!
Do you know how to make a DIY car after reading all these steps? If you have any questions during the making process, please leave your comments to let us know.
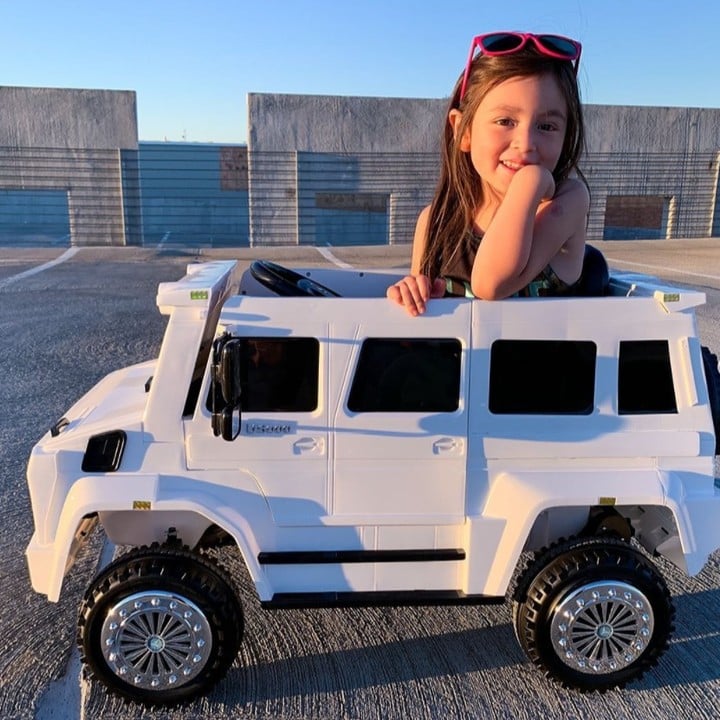
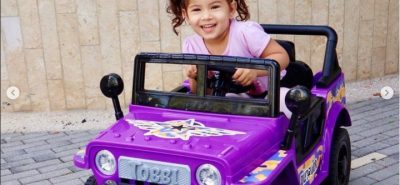
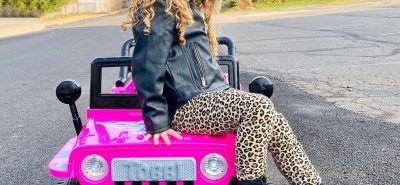
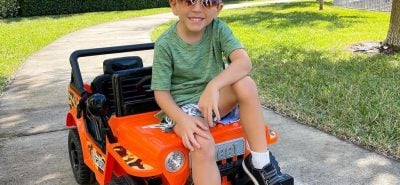
Of course, if you think it is troublesome to make a car and there is no suitable material at home, you can come to TOBBI to choose a high-quality brand-authorized toy car. With a variety of toy cars, TOBBI can satisfy kids’ different preferences for cars while reassuring parents. Come and join TOBBI to become a “racer” to explore a magical childhood!




LEAVE A COMMENT
You must be logged in to post a comment.